Integrating Auth0 With Azure Active Directory

Task 4: Create And Configure Auth0 Application
For this task, you need to be logged in to your Auth0 tenant control panel. We’re assuming here that you are creating a mobile App that needs access to a web-based API (e.g. a REST API).
The key steps are:
1. Open the Applications page.

2. Click the “Create Application” button

3. You should now see the Create Application page:
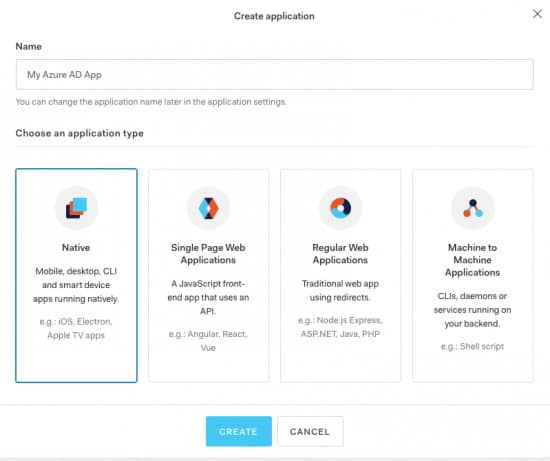
4. Enter your application Name.
5. Select the “Native” application option.
6. Click the Create button.
7. You should now be redirected to the newly created Application and see the following:
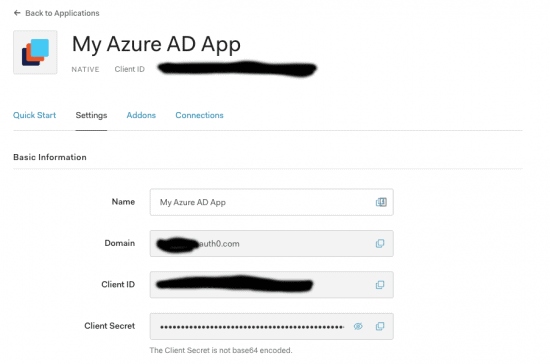
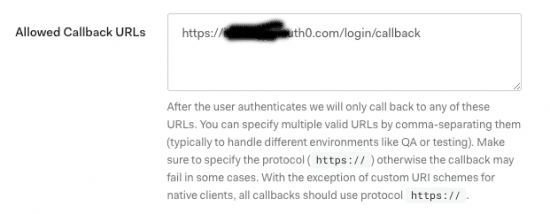
8. Scroll down to the “Application URIs” section. In the “Allowed Callback URLs” field enter https://{your-auth0-tenant}.auth0.com/login/callback. This should match the callback URL entered during the Configure App In Azure AD setup in Task 1.
9. Now we need to configure application grant types. Scroll to the “Application Tokens” section:
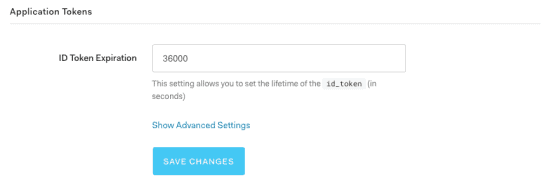
10. Click the “Show Advanced Settings” link. This should reveal the advanced settings:
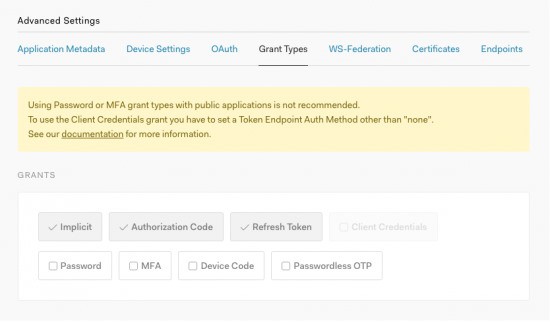
11. The required grant types are “Authorization Code” and “Refresh Token”. These will be selected by default.
12. Click the “Save” button to save the configuration.

To discover how to create enterprise connection in Auth0, click below to go through to page 5.
Posted in: Mobile Apps, Progressive Web Applications, Systems Integration Tags: auth0, auth0 integration, azure active directory
